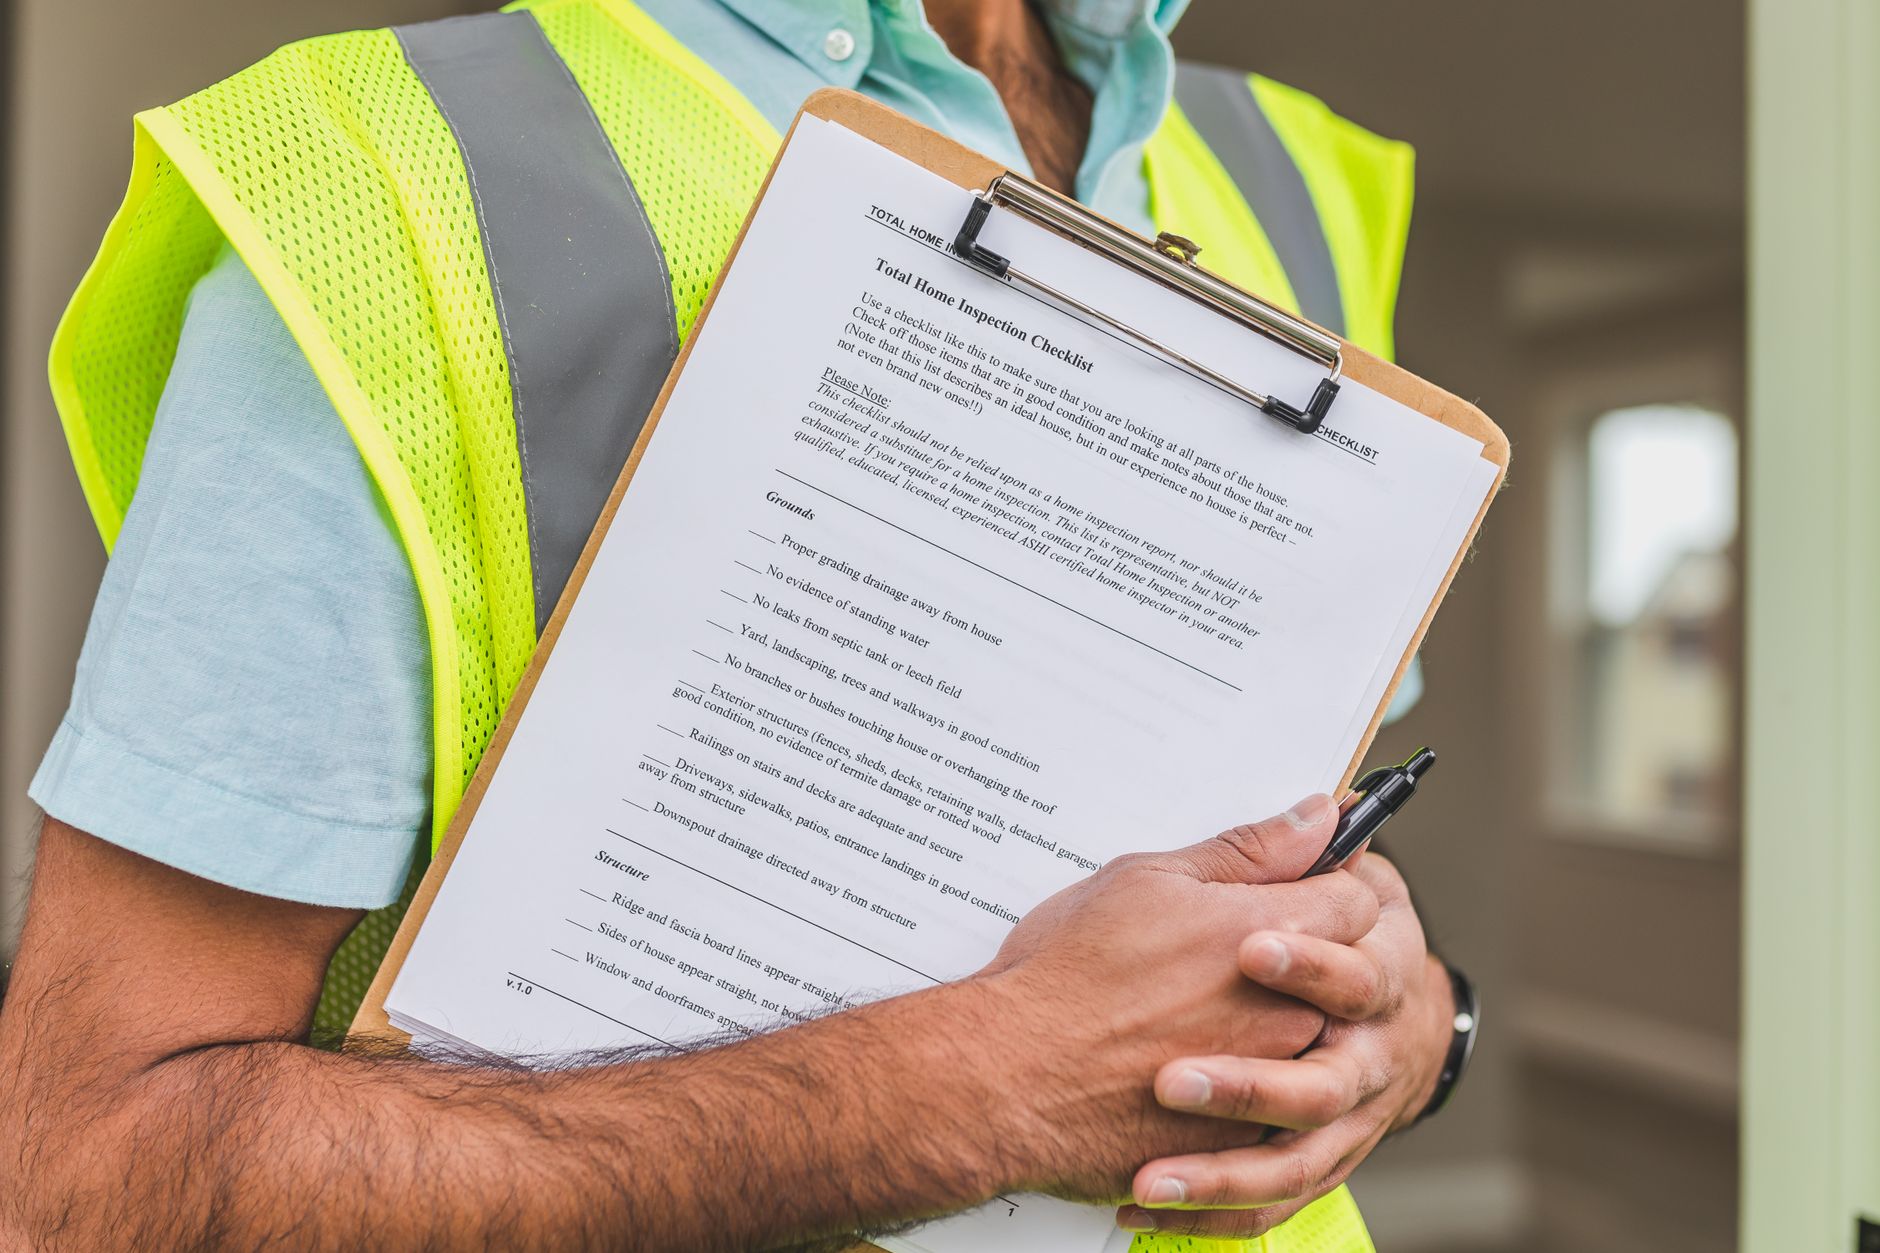
Why Teams Review Every Step of a Task First
A job safety analysis is a structured review of each step in a task, done before anyone starts the work. Many teams also call it a job hazard analysis, or JSA, and the terms mostly describe the same method. The goal is simple: find what could hurt someone at each step, then decide how to stop it before it happens.
A job safety analysis breaks a job into individual steps, identifies the hazards tied to each step, and records the controls that will reduce the risk. A supervisor usually leads it with the people who do the work. The finished document gives workers a clear reference they can follow on the floor. In practice, the most useful reviews are the ones where the newest technician on the crew feels comfortable pointing out a step that looks wrong. Experienced workers know the tricks of the trade, but newer employees often ask the questions that expose a hidden risk, like why a lockout point is placed in a strange spot or why a panel has to be opened from the side.
Most incidents don’t come from a single dramatic failure. They come from a step that nobody stopped to think about, like reaching into a moving conveyor to clear a jam or lifting a part that’s heavier than it looks. Reviewing the task in order makes those moments visible while there’s still time to change the plan. The U.S. Occupational Safety and Health Administration publishes guidance on workplace hazard assessment and prevention, and the same logic runs through most of its recommendations. Looking at a task one piece at a time also helps avoid the false comfort that comes from a general sense that a job is “routine.” Routine jobs are exactly where people stop paying close attention, and that is when small mistakes turn into injuries.
Safety managers and supervisors in construction, manufacturing, and maintenance use this method daily, though the paperwork varies widely from one site to the next. Some plants keep a binder of reviewed tasks. Others attach the analysis to a digital work instruction. The format matters less than whether the review actually happens before the work starts and whether the controls get followed. A small facility with three technicians might do the entire process on a whiteboard and photograph the result, and that can work just as well as a formal database if the content is accurate and the crew actually uses it.
How the Task Review Is Put Together
The process follows a predictable order, even though every site adapts it differently. You start by choosing which task to review, then list its steps, then go through each step looking for hazards and controls. Finally, you record the results and make sure the people doing the work understand them. Skipping any of these stages weakens the whole review. Choosing the right task to start with is worth a moment of thought. High-consequence jobs, tasks with a history of near misses, and work that is done infrequently but under pressure are all strong candidates, since the people doing them may not have a clear sense of the risk.
Breaking a Job Safety Analysis into Task Steps
Everything begins with the task itself, written as a sequence of actions rather than a general description. “Replace the drive belt on the packaging line” is too broad to analyze well. A better breakdown would list each action in order: lock out the machine, remove the guard, release belt tension, swap the belt, retension, reinstall the guard, and restart. Each line becomes something you can examine on its own. Notice that the restart step matters just as much as the lockout step, because many maintenance injuries happen when a machine is brought back online before everyone has cleared the area.
Keep the steps at a level where one action produces one clear hazard picture. If a step covers five different motions, the hazards get buried. If it’s too fine, such as “pick up the wrench,” the list grows long and nobody reads it. Most teams land somewhere around five to fifteen steps for a typical maintenance or production task, though complex jobs can run longer. A useful test is to ask whether the step could be explained to a new worker in one sentence. If it takes three paragraphs, it probably needs to be split.
It helps to walk the task on the actual equipment, or to watch someone perform it, rather than work from memory. Workers often describe a shortcut that never appears in the official procedure. That shortcut is usually where the hidden hazard lives, so the breakdown should capture what really happens rather than what the manual says should happen. Some teams film the task with the worker’s permission, then review the footage together. People are often surprised by how many small adjustments they make without thinking, like bracing a ladder with a knee or leaning across a guard rail to reach a valve.
Spotting Hazards at Each Step
Once the steps are listed, you go through them one at a time and ask what could go wrong. Think about the physical sources of energy involved, such as electrical, mechanical, pneumatic, hydraulic, thermal, and chemical energy. Also think about the environment, including footing, lighting, noise, and nearby traffic. Finally, consider the human side, like fatigue, rushing, or a task that requires an awkward posture. A worker who is on the third hour of a shift and trying to finish before a delivery is a different risk profile than the same worker at the start of the day.
Be specific about the harm, not just the source. “Forklift” is a source. “Pedestrian struck while crossing the aisle during a pallet drop” describes a hazard someone can actually prevent. Naming the outcome makes it easier to choose a control that fits, and it makes the record useful to someone reading it six months later. When a hazard is written as an outcome, it also becomes easier to check whether the control worked, because you know exactly what you were trying to prevent. A closely related walkthrough, Expectations for Osha Job Hazard Analysis in Construction, picks up where this section ends.
Don’t stop at the obvious hazards. A step that looks harmless, such as stepping onto a ladder to read a gauge, can hide a fall risk that only shows up under certain conditions. Ask what happens if the step goes wrong, what happens if someone is distracted, and what happens if a second person joins the task partway through. Those questions tend to surface the hazards that cause the most trouble. A ladder that is fine on a dry morning may become slippery after a wash-down, and a gauge that is easy to read in daylight may force someone to lean out at night.
Choosing Controls That Actually Reduce Risk
For each hazard, the next question is how to control it. The National Institute for Occupational Safety and Health describes a hierarchy of controls that ranks options from most to least effective. Elimination and substitution sit at the top, then engineering controls such as guards and interlocks, then administrative controls such as procedures and training, and finally personal protective equipment.
The hierarchy matters because it pushes you past the easiest fix. A rule that says “be careful around the press” depends on people never making a mistake. A physical guard that stops the press from cycling while a hand is inside doesn’t. You should aim for the highest level that’s practical, then use lower-level controls to back it up rather than replace it. For example, a site might move a repetitive lifting task to a height-adjustable workstation, which removes much of the hazard, then add a short stretching routine and a lifting procedure to cover the remaining exposure.
Controls also need to be specific enough to check. “Use caution when working at height” tells a worker nothing about what to do. “Inspect the harness and attach it to the anchor point before climbing above six feet” gives a clear action someone can verify. When the control is specific, a supervisor can confirm it’s in place during a walk-through. A good test is to imagine a supervisor with a clipboard standing next to the worker. Could they tell, without guessing, whether the control was followed?
Be honest about residual risk, too. Some hazards can’t be fully removed, and the analysis should say so. If the remaining risk is still significant, the review should flag it for a higher-level decision rather than quietly accepting it. That kind of candor is part of what makes the document trustworthy. Workers notice when a form pretends everything is under control, and they stop taking it seriously when it does.
What the Written Record Needs to Include
A useful record captures the task name, the date of review, the people who took part, and the equipment or location involved. It then lists each step, the hazards tied to that step, and the controls chosen for each one. Many forms also include a field for required PPE and a sign-off from the supervisor and the workers who will perform the job. Including a field for the tools and energy isolation points, such as which breakers or valves must be locked, can prevent confusion during the actual work.
PPE needs special attention because regulations address it directly. OSHA’s general industry standard at 29 CFR 1910.132 requires employers to assess the workplace for hazards that call for protective equipment and to certify in writing that the assessment was done. A well-built job review can serve as that evidence when it’s kept current and tied to the specific task. Simply listing “safety glasses, gloves” at the bottom of a form without connecting them to particular steps does little to show that a real assessment took place.
Review dates matter as much as the content. Equipment changes, new procedures, and incident reports all make an older analysis less reliable. Many sites set a review cycle and also trigger a fresh review whenever a task changes in a meaningful way. Old analyses that still show the previous equipment layout tend to erode trust in the entire system. If a worker finds that the form describes a guard that was removed two years ago, they are likely to ignore the rest of the document, even the parts that are still accurate.
What Teams Should Remember from the Method
The method is only as good as the habits behind it. These are the points that matter most when you put it to work on the floor.
- Break the task into clear, ordered steps based on what workers actually do, not only what the manual describes.
- Name the harm each hazard could cause, so the control you choose targets a real outcome.
- Prefer elimination and engineering controls over reminders and PPE, and use lower-level controls as backup.
- Keep the written record specific, dated, and signed, and refresh it whenever the task or equipment changes.
Making the Review a Routine Part of Each Shift
A job safety analysis earns its value when it becomes a normal part of planning rather than a form filed after an incident. Teams that do this well make the review a short conversation before the job starts, with the people who will do the work taking part. That conversation catches the shortcut, the missing guard, and the tool that doesn’t fit the task. Some crews keep the pre-job talk to five minutes by focusing only on the steps with the highest hazards, while the full analysis stays on file for reference and periodic review.
Digital systems can help keep the analysis current and in front of the crew. When the controls live inside the work instruction a technician opens at the machine, they’re far more likely to be followed. Platforms such as Vardian are built to connect those task records with the frontline workflow, though any approach works as long as the review happens and the results reach the people doing the job.
Frequently Asked Questions About Job Safety Analysis
What is the difference between a job safety analysis and a job hazard analysis?
In most workplaces the two terms refer to the same process. Some organizations prefer “job hazard analysis” because it emphasizes the hazards, while others use “job safety analysis” to stress the overall goal of keeping people safe. The important thing is that the method includes breaking down the task, identifying hazards at each step, and recording controls. If your company uses both terms, define them in your procedure so everyone is working from the same understanding.
Who should take part in creating a job safety analysis?
The people who actually perform the task should be part of the process, along with a supervisor and, where useful, a safety professional or maintenance specialist. Workers provide practical knowledge about shortcuts and conditions that rarely appear in written procedures. Involving them also tends to improve buy-in, since people are more likely to follow controls they helped design.
How often should a job safety analysis be updated?
Most sites review analyses on a regular schedule, often every one to three years depending on risk, and also whenever the task, equipment, or procedure changes significantly. An incident or a near miss linked to the task is another reason to revisit the analysis right away. The review date should be visible on the document so anyone using it can tell whether it is still current.
Does a job safety analysis replace a permit-to-work system?
No. A job safety analysis and a permit-to-work system serve different purposes. The analysis is a planning tool that identifies hazards and controls for a recurring or defined task. A permit system is an authorization process used for higher-risk work, such as hot work or confined space entry, and it often relies on information from the analysis. Many sites use both together.
What is the most common mistake teams make with this method?
A common problem is treating the analysis as a paperwork exercise instead of a conversation about real conditions. When the steps are copied from an old form without being checked on the equipment, the hazards that matter most often get missed. Walking the task, asking workers directly, and checking the record against current conditions prevents most of these gaps.
- Job Safety Analysis Fundamentals for Workplace Teams
- Options for Layered Process Audit Software Selection
- Layered Process Audit Checklist Items by Layer
- Layered Process Audit Definition and Core Elements
- VKS Platform for Screen-Based Factory Procedures
Related Posts
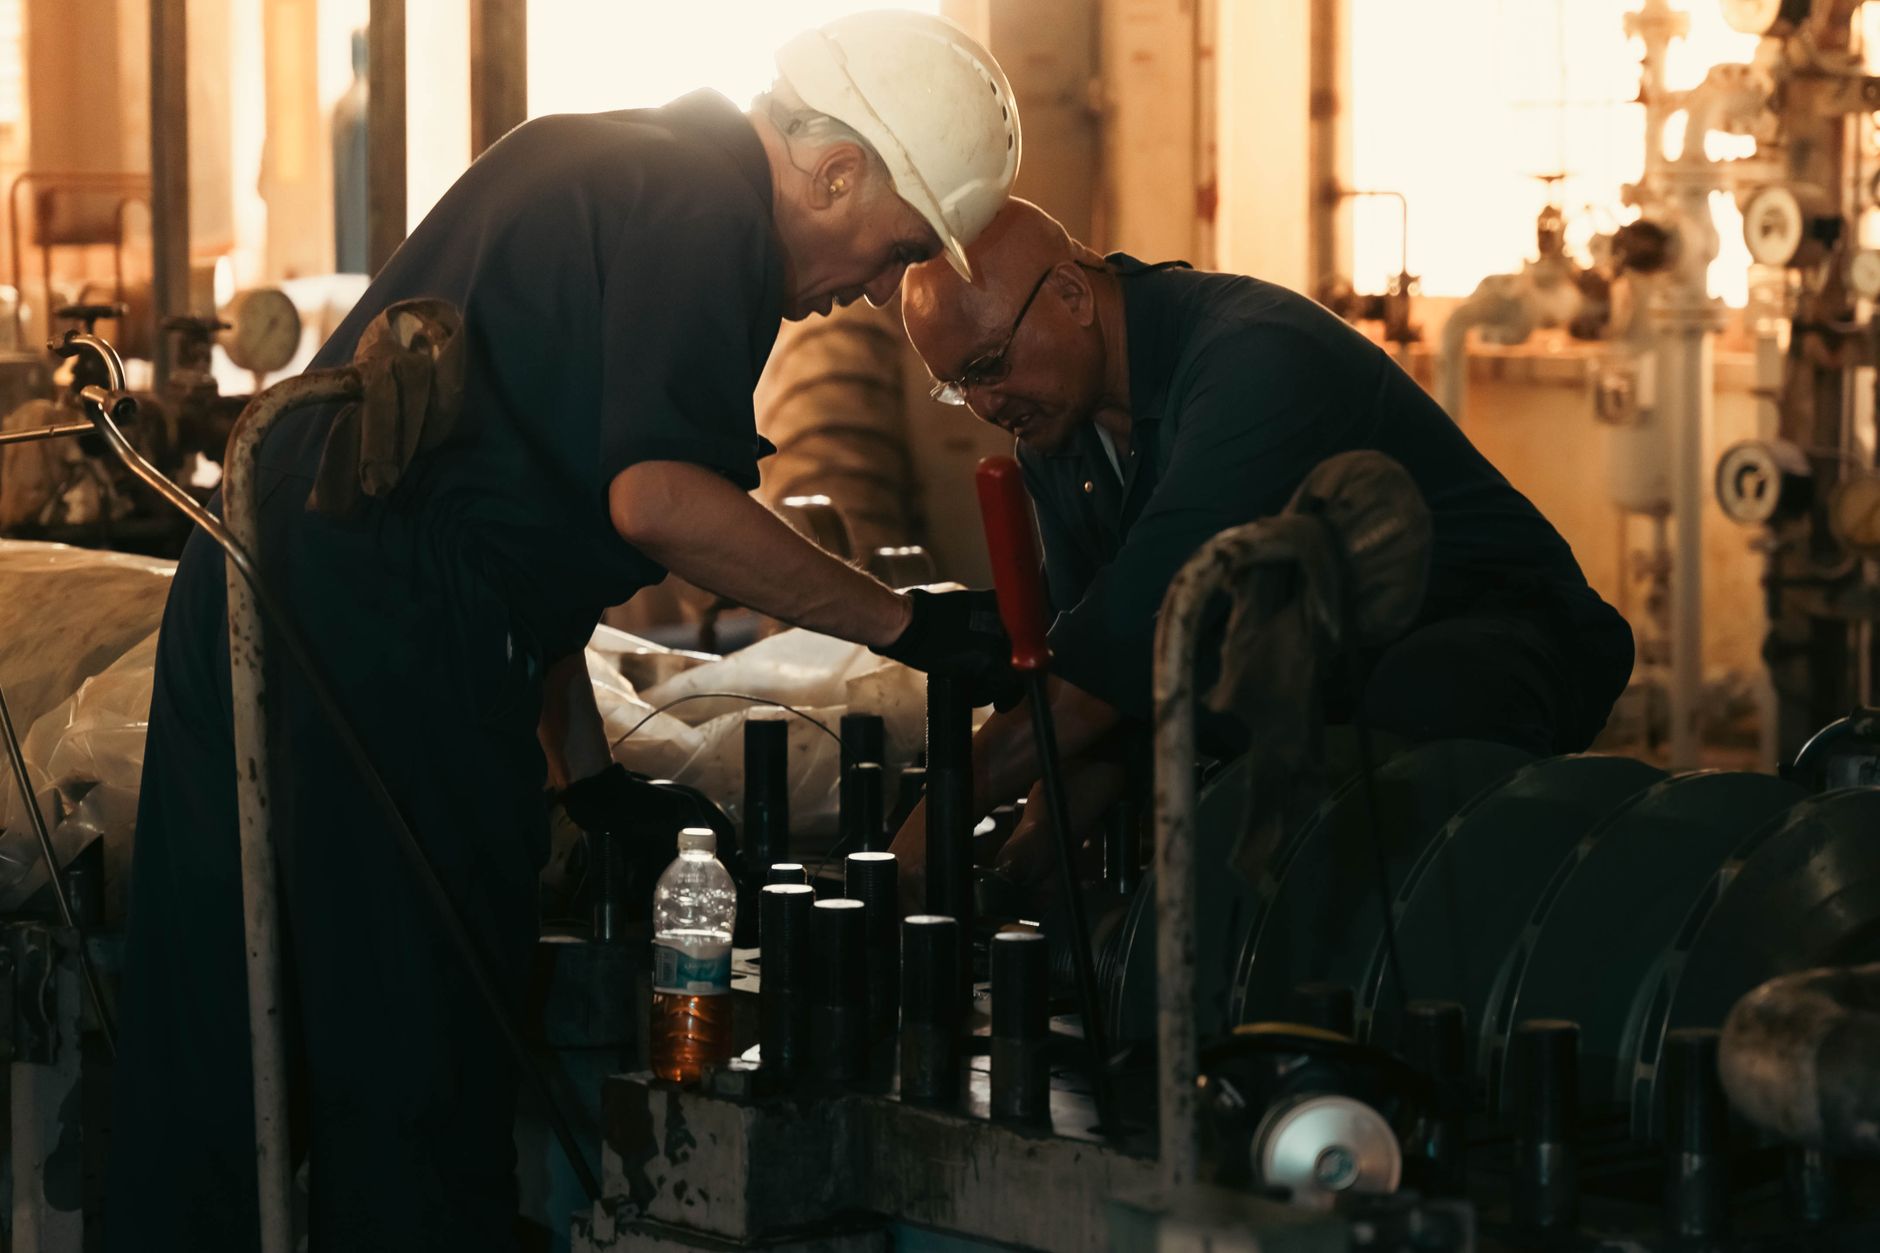
Real-Time Escalation for Oil and Gas Connected Worker
Why Response Windows Matter on Oil and Gas Sites Why…
Which connected worker platforms show inspection ROI within 90 days for manufacturers?
Why 90-Day ROI Claims for Connected Inspection Often Fall Apart…
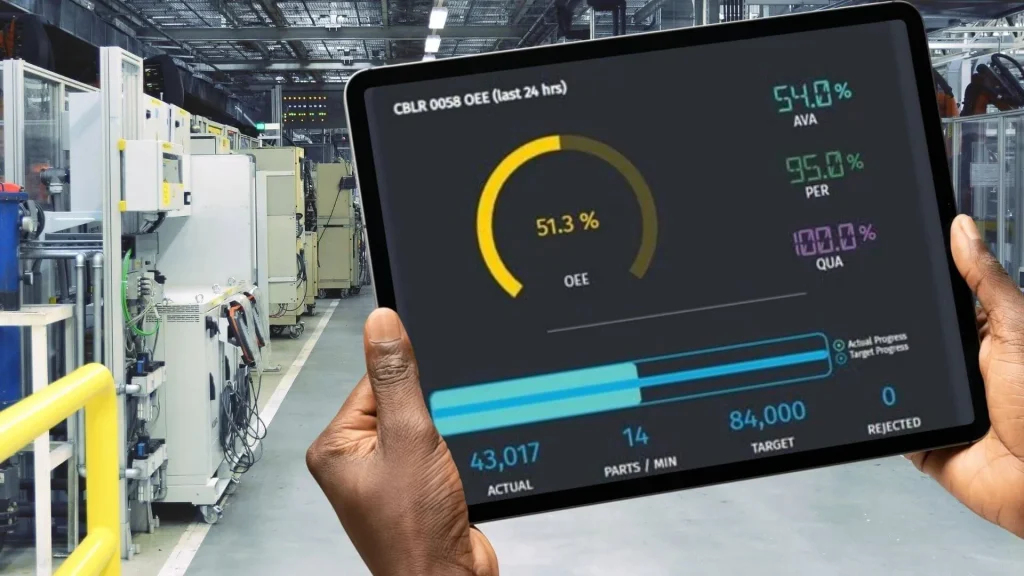
ROI inputs for operators versus supervisors in connected worker deployments
Why Role-Based Inputs Shape Connected Worker Returns Why Role-Based Inputs…