Connected Worker Software for Automotive Assembly Lines: Why a Connected Worker Rollout on an Assembly Line Goes Sideways
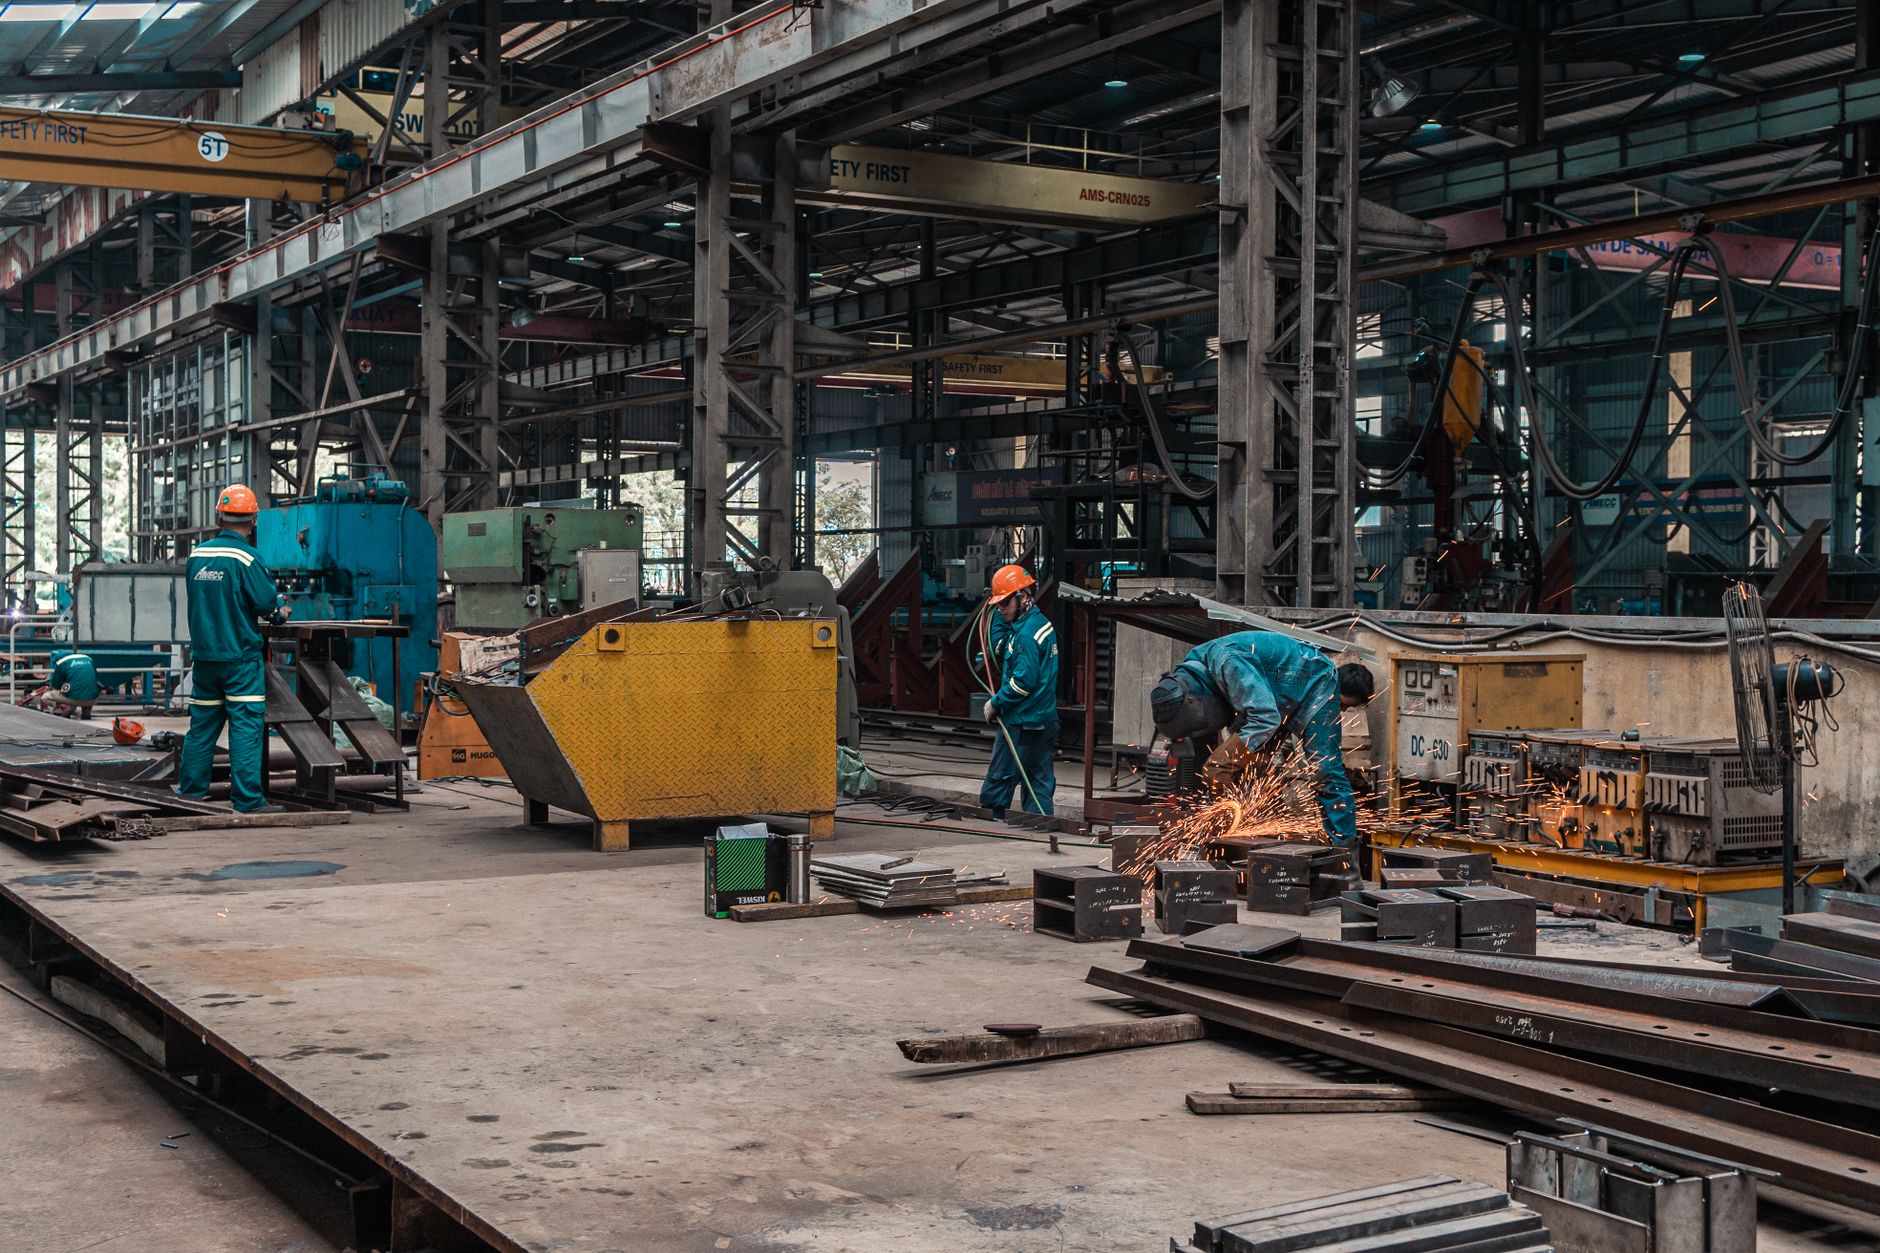
Connected worker software for automotive assembly lines promises to replace clipboards, binders, and laminated sheets with screens at the station. On paper it looks simple. In practice, the first two weeks decide whether the system gets trusted or quietly ignored. A typical station rollout starts with enthusiasm. Then it runs into the things nobody mapped properly. These things include a torque value that lives only in an engineer’s head, a photo taken from the wrong side of the fixture, or a night shift that never saw the new screen until it was already live.
This article walks through the sequence that tends to work on existing lines. It covers how to capture current standard work. It converts it into digital steps, pilots on a single station, validates across off-hours shifts, confirms that operators actually acknowledge changes, and then expands. Along the way you’ll find the mistakes that show up most often, and why they matter more than the software choice itself.
Short answer: a sound rollout maps existing standard work station by station. It converts it into digital steps with verified images and torque values, pilots on one station, validates on night and weekend shifts, and only then expands. Most of the time, the first two weeks fail. The source data was wrong or nobody tested the instructions when the experienced day-shift people were absent.
Step-by-Step Rollout of Electronic Work Instructions
-
Map the current standard work at every station before touching any software. Walk each station with the operator who actually does the job, not only the engineer who wrote the sheet. Write down the real sequence, the cycle time, and every place where the operator checks something without it appearing on paper. Compare what the paper says with what the hands do. In most plants the gaps are significant. A fastener sequence reversed, a tool changed without a revision, or a quality gate added years ago that never made it into the binder. Record each discrepancy with a photo and a note about who owns the correct answer. This map becomes the single source for everything that follows, so spending a few days here saves weeks of rework later.
-
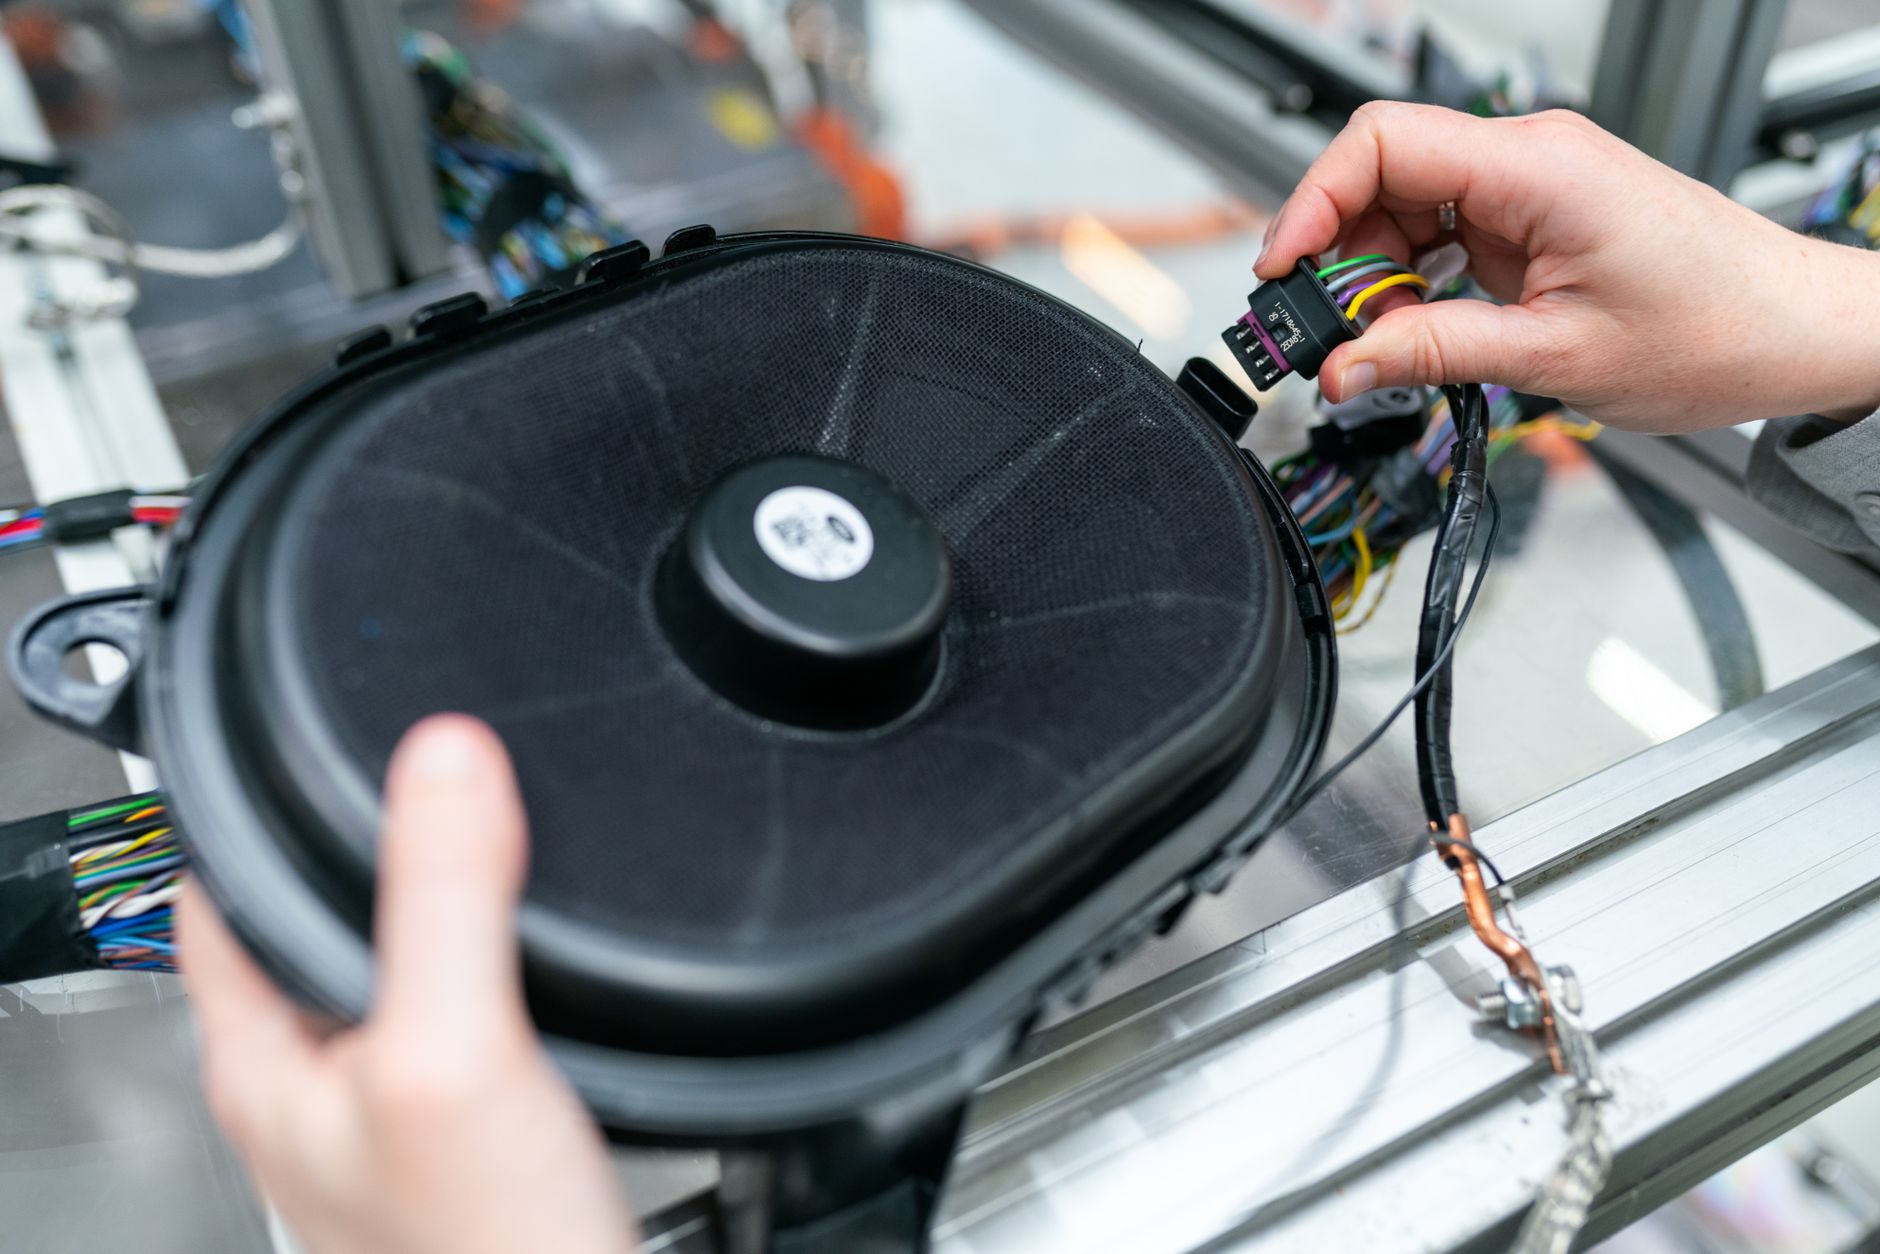
Convert the mapped steps into digital instructions with images and torque values. Each step needs one action, one clear image, and any parameter the operator must respect. Torque values should come directly from the controlling specification. The tool name and setting written next to them, for example a specific torque wrench model set to the published value and sequence. Photos should match the station’s actual viewing angle and lighting, because a clean studio shot often hides the part an operator needs to see. Keep text short. If a step needs a paragraph, it probably needs two steps. Build in a field for the operator to flag anything that doesn’t match the physical part in front of them. That feedback is what keeps the content honest after launch. When weighing options, one field guide is a useful comparison point.
-
Pilot on one station, ideally a station with stable volume and an engaged team lead. Resist the urge to launch the whole line at once. A single station lets you watch real use, see where people hesitate, and fix problems while the blast radius is small. Plan for a pilot that runs through several full build cycles, including at least one changeover and one material lot change. Keep the paper backup at the station during the pilot so nobody is stranded if the screen freezes. Collect the operator comments daily and act on them within the same shift if you can. Operators notice quickly when feedback disappears into a black hole, and that single habit can decide whether they cooperate with the rest of the rollout.
-
Validate the instructions on night and weekend shifts before calling the station finished. This is the step most teams skip, and it’s where the biggest surprises show up. Night crews often have fewer supervisors nearby, different experience levels, and sometimes different tooling staged at the cell. Run the instructions with the people who actually work those hours. Confirm that every referenced tool, fixture, and part number exists at that station during that shift. Check that the device has network coverage and power, and that the login method works for operators who share credentials or use gloves. A useful test is to deliberately ask a less experienced operator to complete a changeover using only the screen. Watch where they stop. Those stopping points are the real defects in your instructions.
-
Verify operator acknowledgement for every revision, not just at launch. Electronic instructions only help if people read the current version and confirm they understand it. Set the system so that a new revision forces an acknowledgement before the next cycle starts, and so that the record shows who acknowledged what and when. Check the acknowledgement logs weekly during the first month. If one shift shows a gap, go find out why, because the cause is usually a missed briefing or a login problem rather than a willful refusal. Acknowledgement records also become valuable evidence during audits, since they show that the version on the screen matched the version the operator saw.
-
Expand to adjacent stations once the pilot and night-shift validation are both clean. Expansion should follow the physical flow of the line, so that a changed upstream station doesn’t hand off parts to a downstream station still running paper. Bring in the same team lead and at least one operator from the pilot as peer trainers. Colleagues explain tasks more credibly than a vendor or an engineer does. Use the same mapping and validation routine for each new station rather than inventing a shortcut. The shortcut is almost always where the second wave of errors comes from. It is far cheaper to repeat the proven method than to unwind a station that was rushed.
Common Mistakes When Moving Instructions to Screens
Teams that have been through a rollout tend to name the same few problems. The good news is that each one has a straightforward fix, and most of the fixes cost nothing but discipline.
- ❌ Wrong: copying paper text word for word onto the screen. ✅ Right: rewriting each step as one action with one image, because a sentence built for a binder reads poorly on a small display at arm’s length.
- ❌ Wrong: skipping night-shift validation because day shift signed off. ✅ Right: running the instructions on every shift that uses the station, including the people with the least experience.
- ❌ Wrong: editing instructions directly on the live station. ✅ Right: keeping a version history, assigning an owner to each revision, and forcing re-acknowledgement after every change.
- ❌ Wrong: treating the torque value as a note. ✅ Right: linking every torque figure to the controlling specification and the tool setting, then checking both at each audit.
Next Steps for Your Station Pilot
When rolling out connected worker software for automotive assembly lines a connected worker rollout on an automotive line succeeds when each station is mapped against real work. It is validated on every shift that uses it, and confirmed by the operators who do the job. Start with one station, prove the instructions on nights and weekends, and expand in line with the physical flow. Treat acknowledgement and version control as ongoing duties, not one-time launch tasks.
If you’re preparing a pilot now, make a simple checklist for that first station. The mapped standard work is signed off and torque values are traced to their source. A validation run happens on each shift, acknowledgement records are reviewed weekly, and a named owner exists for every revision. Once that checklist is clean, you have a reliable template for the rest of the line.
About this guide: this article is written from a process-engineering and continuous-improvement perspective, focused on the practical sequence of moving existing standard work onto digital screens. It describes common patterns rather than results from any single plant.
Related Topics
- Why Connected Work Instructions Matter for Quality Teams
- Which Connected Worker Tools Fit a Mid-Size Factory’s Budget?
- Setting Up Connected Worker Quality Inspection for Pharma Batch Workflows
- Can Connected Worker Inspection Apps Work in Chemical Facilities?
- Which Connected Worker Solutions Serve Multi-Plant Operations?
Related Posts
Which Connected Worker Tools for Mid Size Factories Fit the Budget?
Which Connected Worker Tools Fit a Mid Size Factory's BudgetPhoto:…
Proving Connected Worker Security Platforms Meet Governance Needs
Why Traceable Events Matter More Than Connectivity Alone in Regulated…
Expectations for Osha Job Hazard Analysis in Construction
Why Construction Sites Draw Closer OSHA Scrutiny Why Construction Sites…